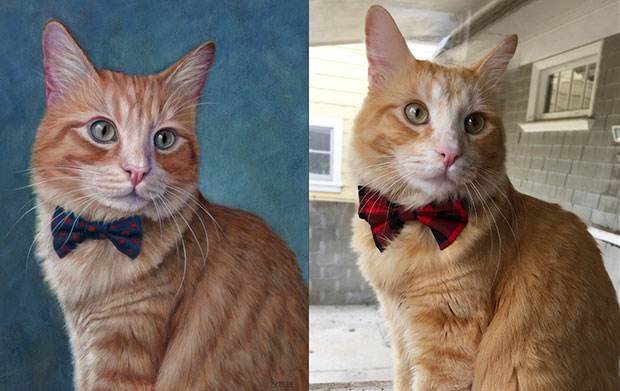
Because I paint in a realistic style, quality photo reference is essential. The better the photos — the better the resulting portrait.
One common resource is a pet’s Instagram account, which can offer a great selection of shots to choose from. In researching appropriate photos, I look for:
• The main pose the portrait will be painted from;
• closer shots of the face, showing the quintessential expression, especially shot at the same (or very similar) angle as in the main pose;
• any additional reference photos to confirm coloring, markings and other details.
Where possible, I encourage photographing your pet for best control. As we know, some pets — most notably cats — are not the most cooperative models. It takes patience, luck, and may require taking dozens of photos to capture some good shots. It doesn’t hurt to have a supply of treats as well! Following are some guidelines:
1. Don’t use flash. It makes the subject look flat, creating unrealistic looking lighting and blowing out detail. Instead, photograph the pet in a well lit room with natural daylight, or near a window (but not with the sun directly hitting the pet — which, again can result in blown out lights).
Avoid light sources that create harsh shadows, like ceiling spotlights — which is also an unnatural direction of light.
2. I can’t paint what I can’t see. Sharp, in-focus photos are key, which is why good lighting is necessary. Inadequate lighting causes the camera to use a slower shutter speed, resulting in grainy, out-of-focus images.
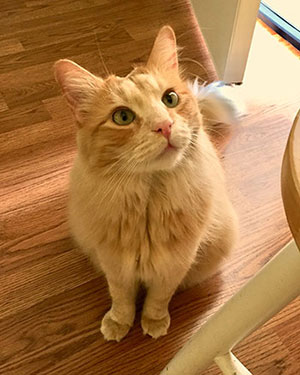
3. Get down to the pet’s level. Take the photo where you are seeing your pet eye to eye, not from above — our usual view. Doing so avoids extreme lens distortion and inaccurate proportions.
4. The more photos, the better. Photograph your pet sitting upright, shooting the full body, head and chest, plus close-ups of the face. If taking photos with a camera phone, keep in mind there can be quite a bit of lens distortion when shooting close-ups, so instead of getting right up in the pet’s face, it’s better to stay back (about 18”) and zoom in slightly.
Good poses for portraits include:
Side or 3/4 view of the body, with pet looking straight at the camera, or with the head slightly turned.